- There's just ONE seam!
- There's very little wasted fabric, it all goes to the binding.
- It's easy and fast to make compared to traditional bias binding methods.
Okay! Sound good? Then let's get started. You'll need a large cutting mat, a ruler (or two) or a yard stick, a pair of scissors, a rotary cutter, a marking pencil and of course your sewing machine and an iron.
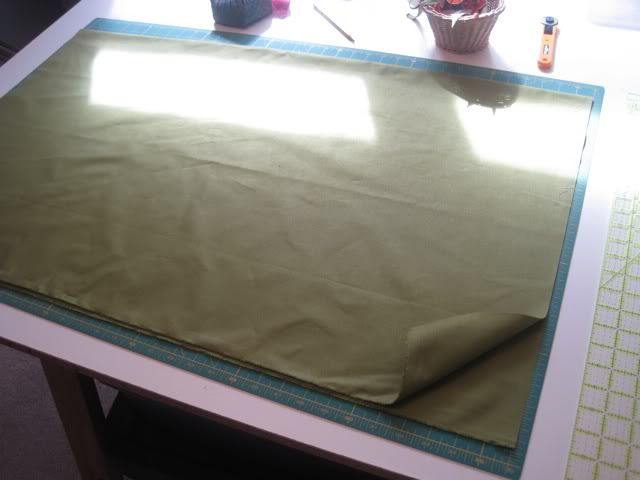
1. Take your fabric and fold in half. Use your rotary cutter to remove the selvages and square up the edges.
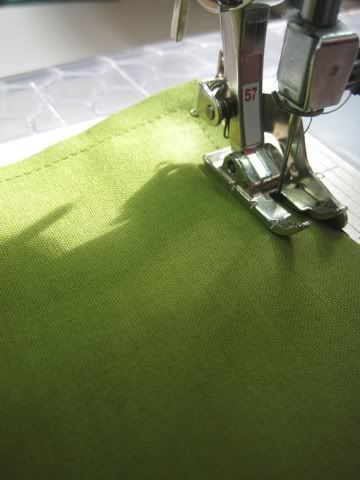
2. Take the fabric to the sewing machine and stitch the three sides closed. Do not stitch the side that is folded.
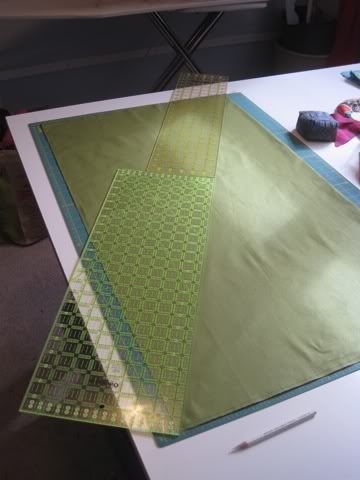
3. Bring your sewn fabric back to a large flat area and lay it back out with the folded edge at the top. You are then going to mark a diagonal line with a pencil or other marking tool from one corner to the other.
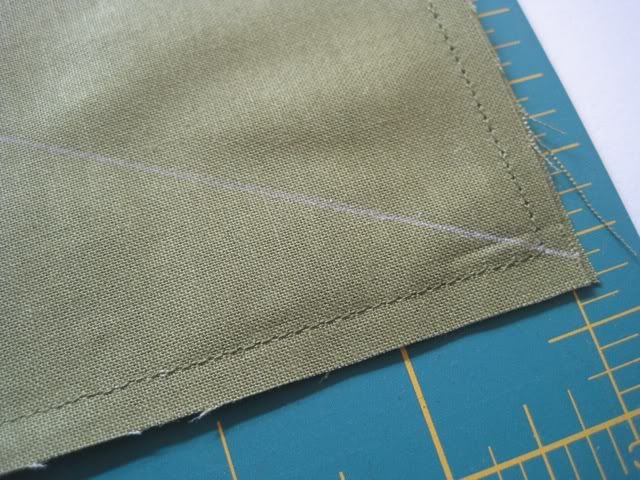
4. Cut off all four corners. Do not take a large amount off, just enough to slide scissors into the hole that it will make. Cutting off a large amount here will mean you'll have less binding later on.
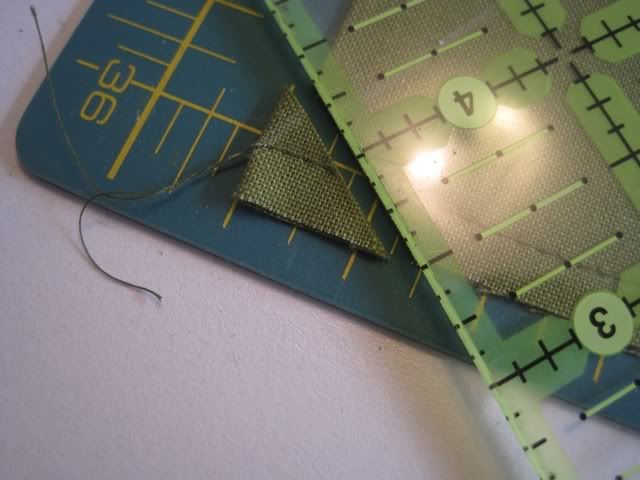
5. You are now going to slip your scissors into the little hole you just made and cut along the line you just marked. Why not use a rotary cutter here? Because you're only cutting one layer of the fabric. You must use scissors to do so.
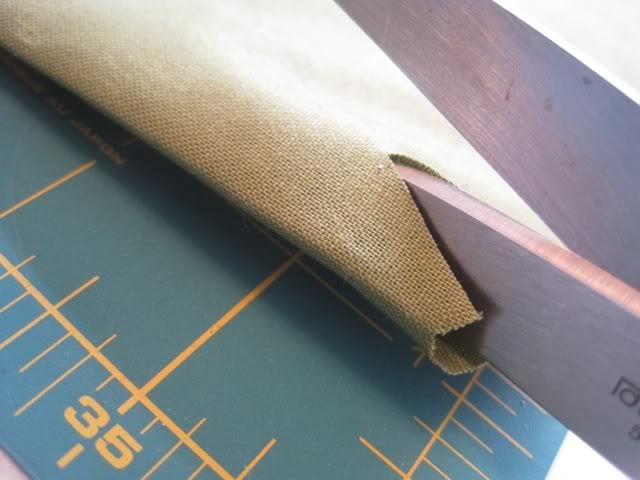
6. When you are done with that step your fabric should look like this:
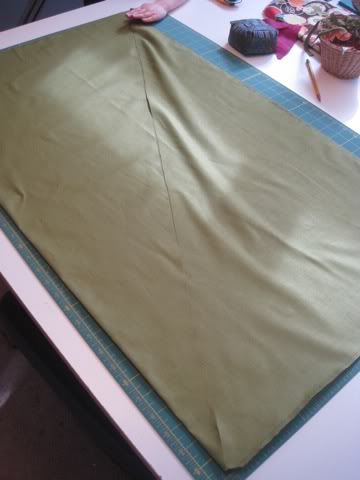
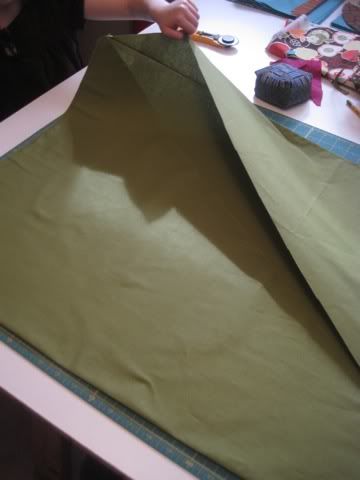
7. The next step is to flip the fabric over so the folded edge is now at the bottom. Mark your line and again. Make sure it's the same direction as your first marking. You want an "X" in the end. Cut with scissors across the fabric.
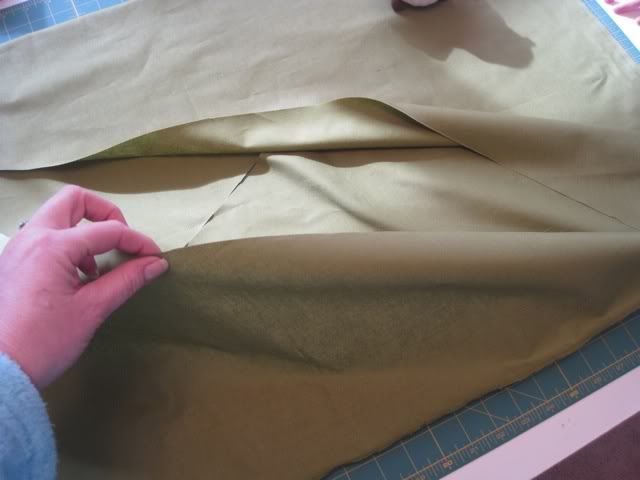
8. Grab the edges of the last cut and open up the fabric so it's in a tube shape.
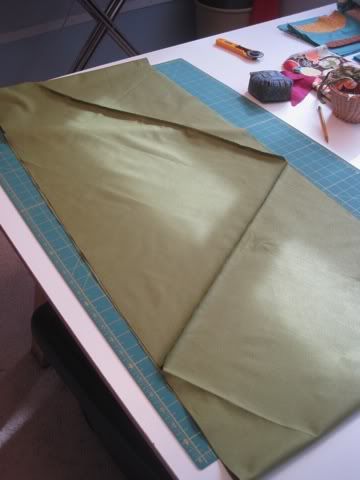
9. Press the seams open.
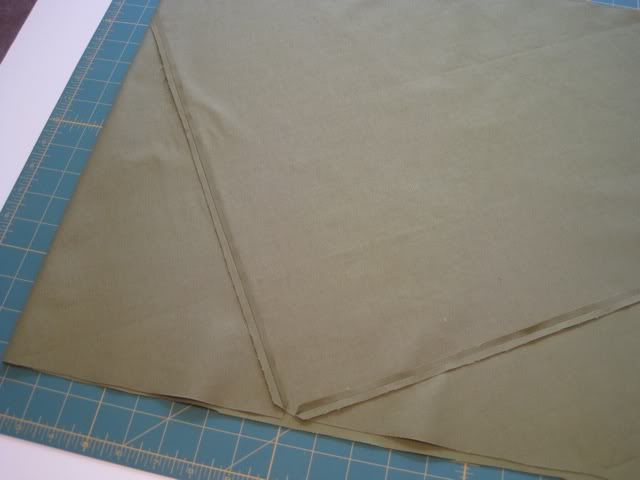
10. Mark a line between 6" and 9" from the folded edge. I know that's not real specific but it depends on how large a piece of fabric you started with. If you started with 1/2 yard 6" should be fine, if you're using more then a yard move your measurement out to the 9" from the folded edge. Don't mark further then 9" from the edge or it'll be more difficult to work with later on.
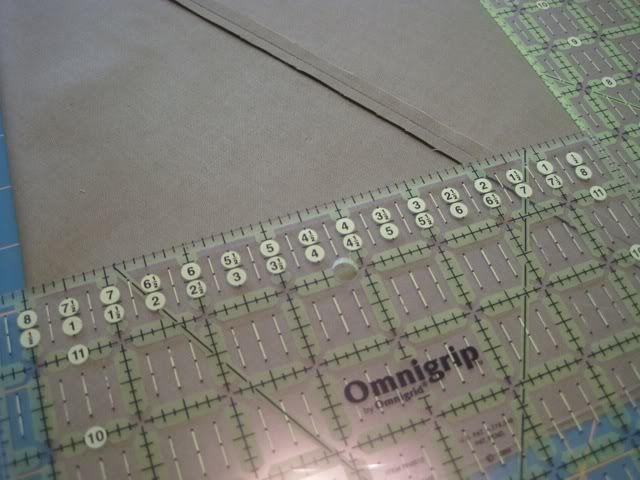
11. Using your previously marked line as a guide, mark perpendicular lines the width you want your finished open binding to be. For example if making quilting binding these parallel lines would be 2 1/2". In this case however I was making binding for an apron and needed 1 1/2" strips.
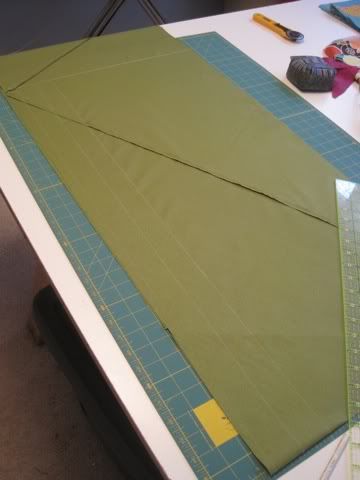
12. Once your lines are marked use a rotary cutter (or scissors) to cut from the folded edge to your marked line. Be sure to cut through both layers of fabric this time. Now you can see why this is called Windsock Binding!
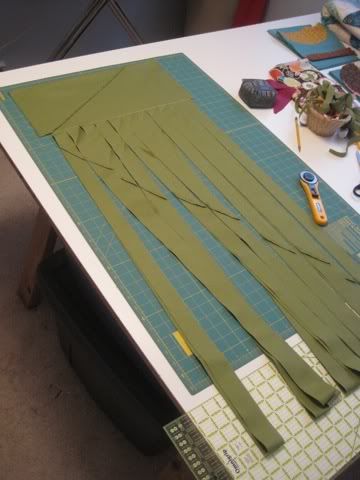
13. Do NOT cut off the strips you've just made but leave them attached.
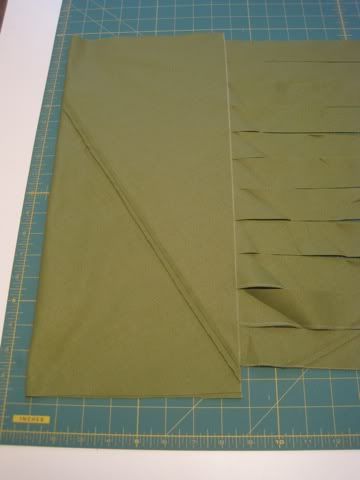
14. If you slide a finger under your folded fabric and lay it open like a book, it should look like this.
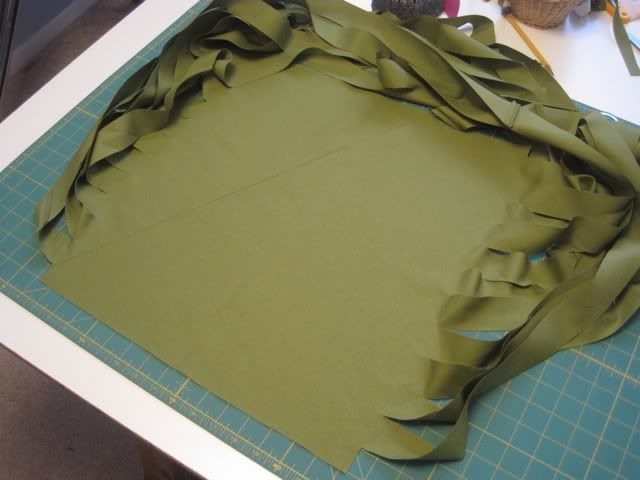
15. Take a ruler and mark lines from one cut edge to the opposite and higher cut point. You can then use a rotary cutter or scissors to cut across these areas. Make sure that it's on a diagonal otherwise you'll wind up losing your continuous strip.
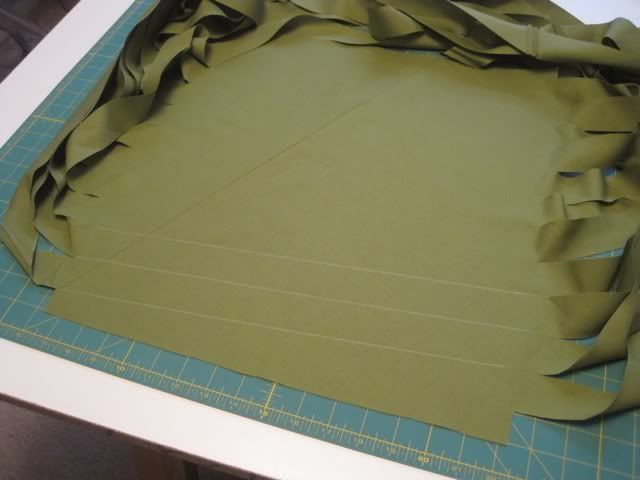
16. Mark and cut all the way up till you have nothing left but bias binding strips!
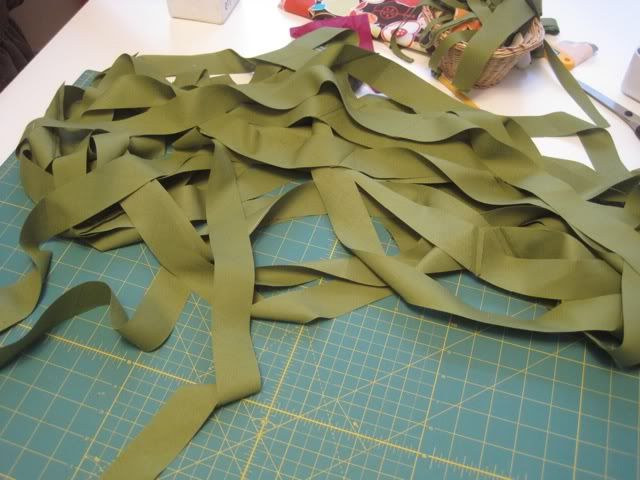
17. These open strips can now either be ironed by hand or placed on a spool to be run though a bias tape maker.
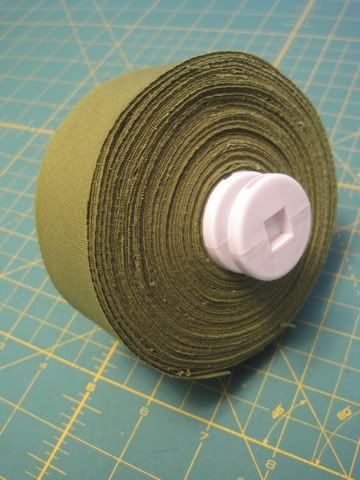
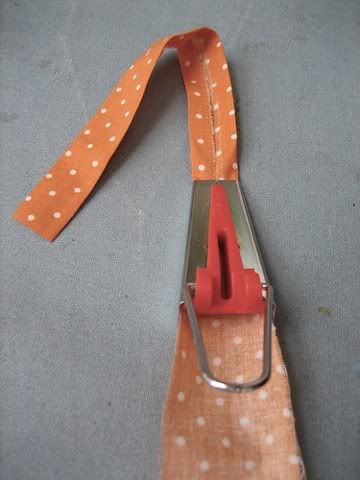
18. If you make a lot of binding I'd suggest getting one of these handy little guys, it takes hours less work to run it through this little gadget then to iron 1-3 seams into the fabric by hand.
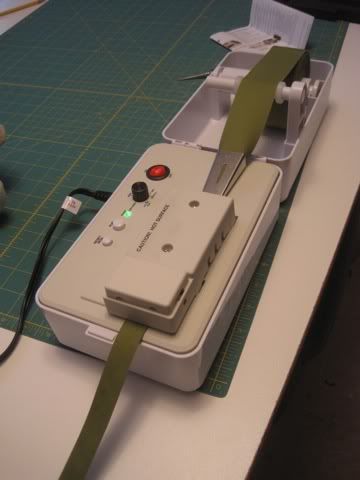
Another less expensive alternative that's easier then ironing by hand is to get a hand held bias tape maker. It will hold and fold the fabric for you while you pull it through and iron it flat as you go.
Happy Binding Everyone!
7 comments:
I didn't know you could get a machine like that for making binding. Interesting. (I've got, or used to have anyway, one of those manual ones. I don't think I've ever used it though.)
I've never used bias binding (except what you can buy in a package). It's interesting to see how it's made though - I usually find the instructions kind of confusing.
Two thumbs up for an awesome tutorial! Great pics and excellently explained!
I have a old school tool to make binding, but I don't make enough bias to require a fancy pants version. All my quilt binding is French, and I don't actually press anything for that except the seams.
This is brilliant! Thanks so much for sharing!
Clumsy Chord, I hope my instructions weren't confusing for you! If you ever want to give it a try let me know and I can walk you through it if you have any questions.
Jenn, Thanks Hon! Yeah, when I make quilt binding I attach it in the French manner too so the cutting here would be the same except I'd make the strips 2 1/2" but then would just fold once and iron if I was feeling fancy and sew. For this sample I was making an apron (which I really need to just finish up with pockets!) and needed a three fold bias binding.
Megs, Thanks!
Wow...that was one nice tute! Thanks! I will give it a try.I have made miles and miles of binding but never using this technique. Thanks!
holy cow batman! This is amazing.... I'm totally going to try this on some cheapy muslin before I hack into some pretty yardage but I need to make aout 50 yards of binding this week (even with the machine) its going to take awhile. Not anymore! Besides, I always hate the seams in the binding when I do it the other way!
Thanks Cherri and Ale! If you ever wanted a personal walk through let me know, I'd be happy to go over with you anytime. ^^
Post a Comment